Each quarter you upload your spreadsheet to the open period and Tax Optimiser fills the nine boxes from the cells you mapped in VAT Settings. The boxes themselves are read-only — the uploaded file is always the source of truth, which is exactly what Making Tax Digital's digital-links rules want.
Open the return
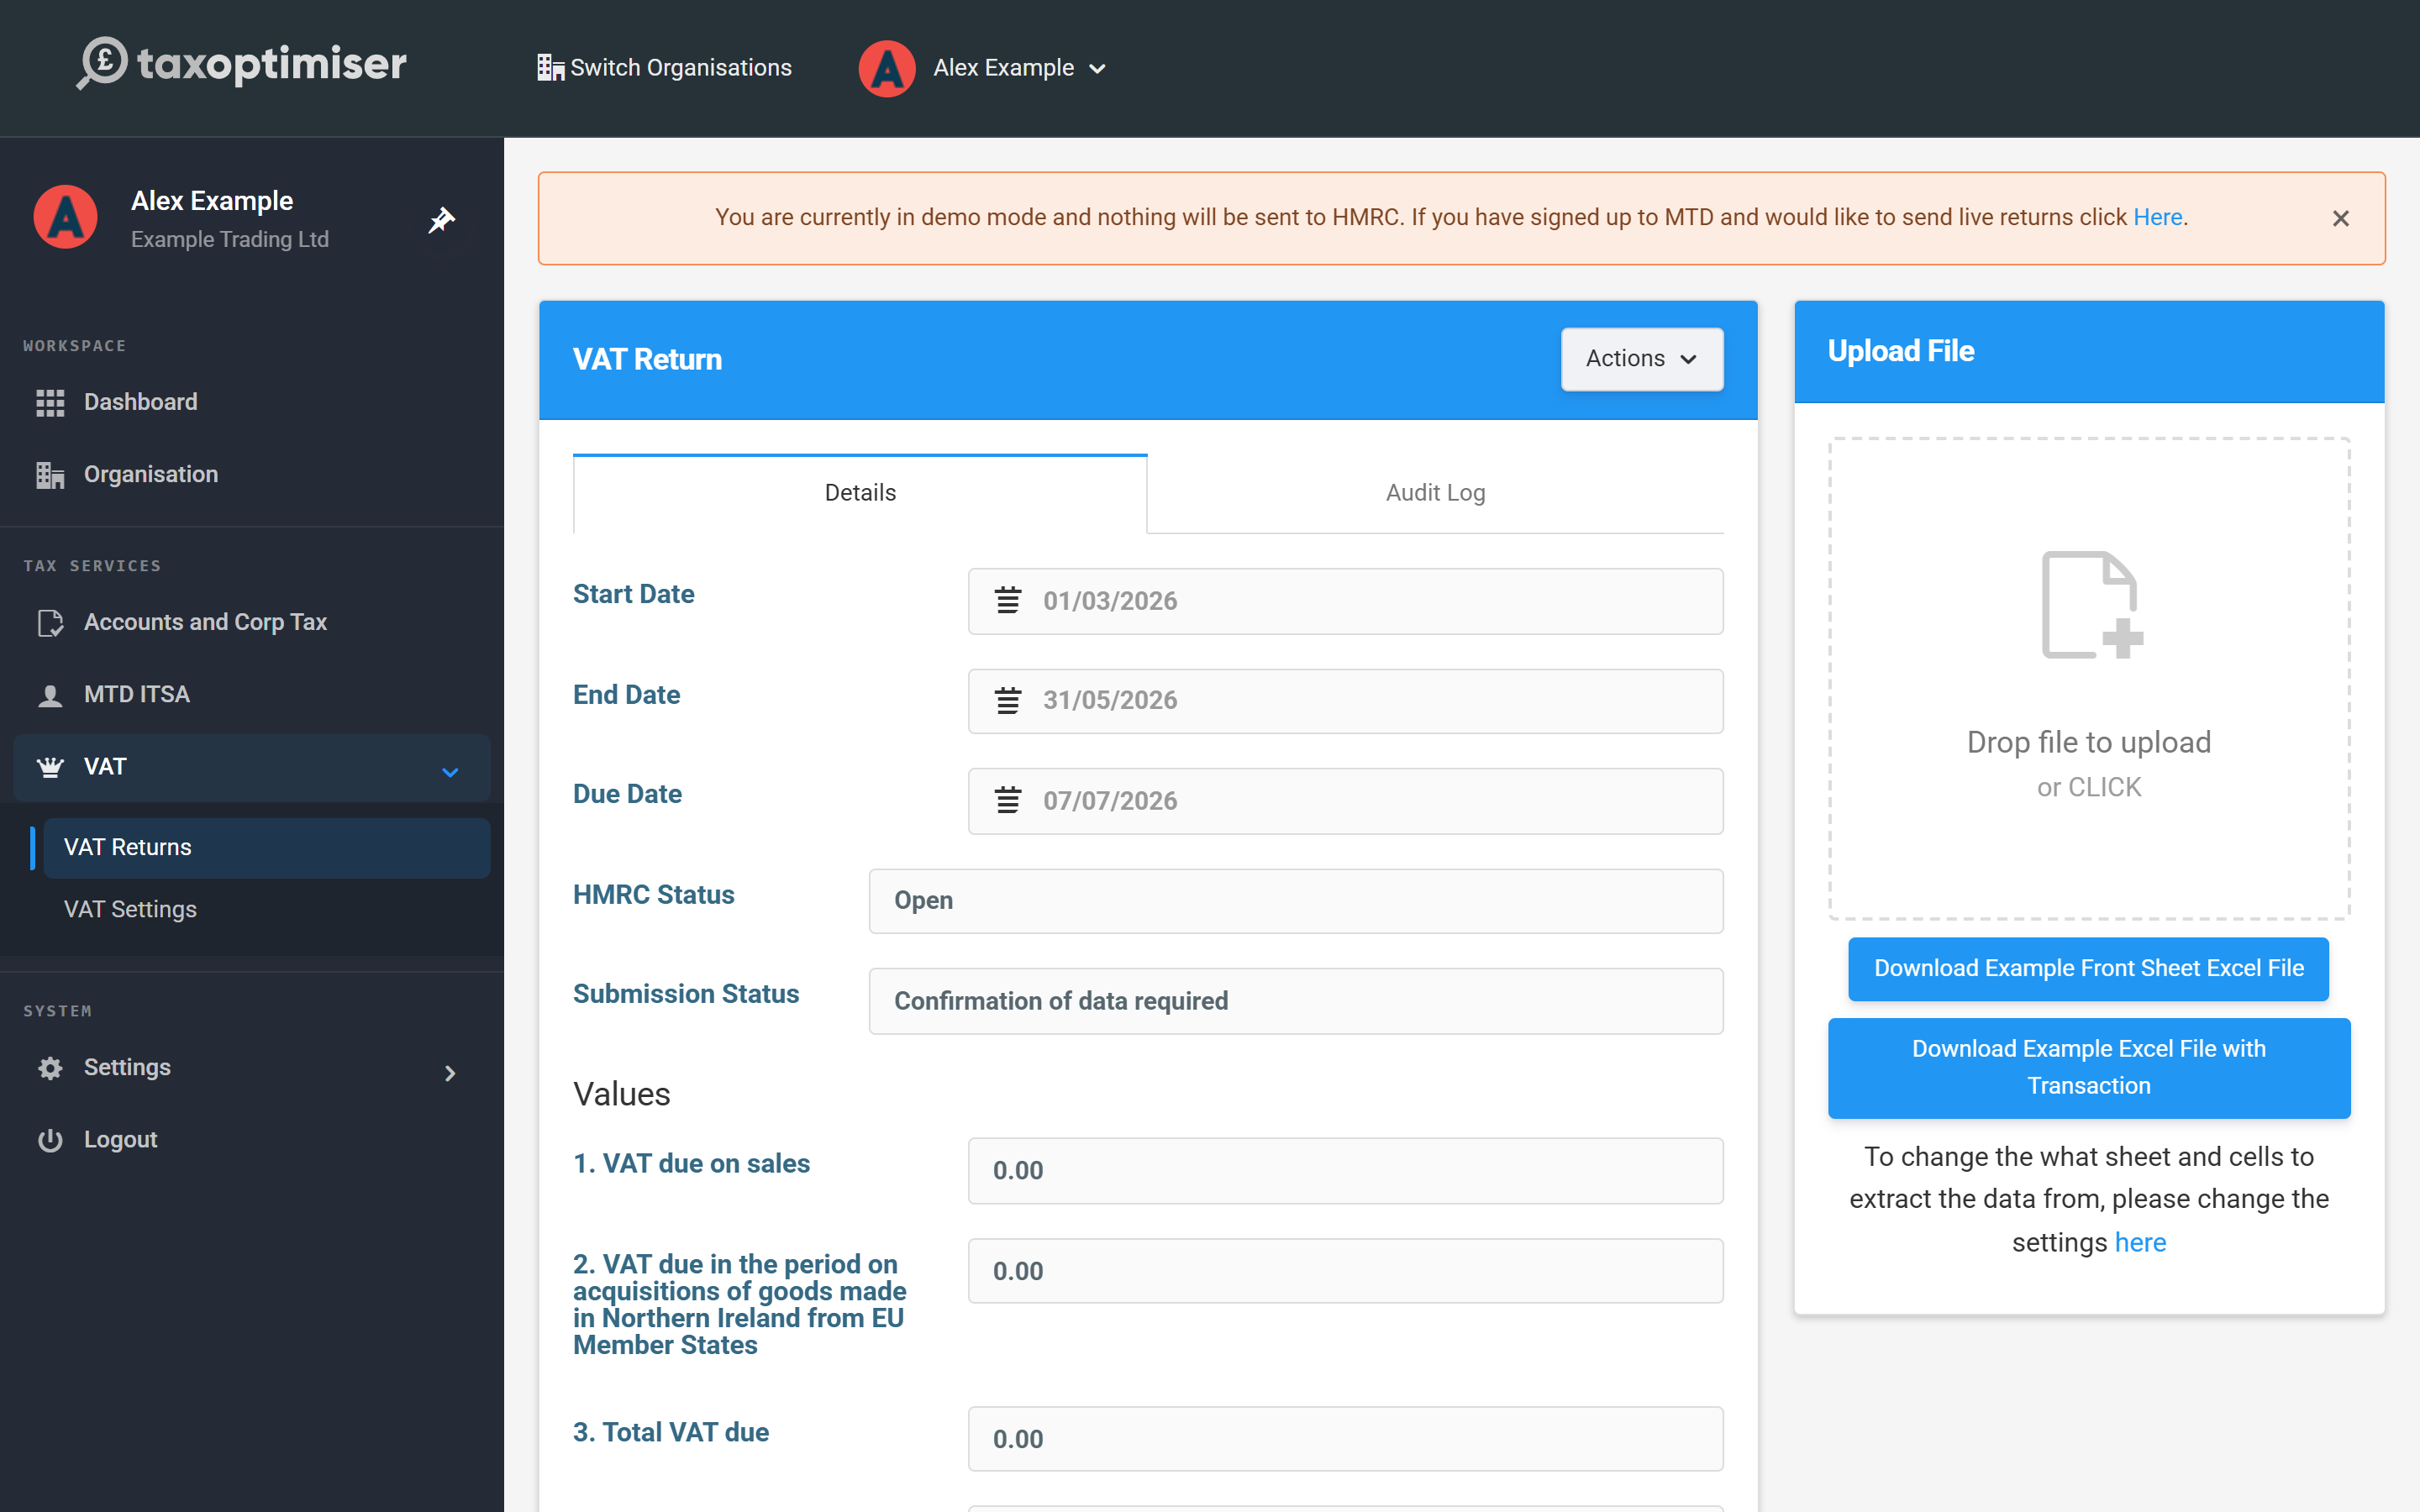
On VAT Returns, click the period link of the Open return. You'll see the return's dates and status, the nine boxes at zero, and an Upload File panel on the right. If you don't have your own layout yet, the two example files under the panel give you a ready-made front sheet that matches the default cell mapping.
Upload your spreadsheet
Drag your file onto the upload area (or click it to browse). Excel files (.xlsx, .xls, .xlsm) and .csv are accepted. Processing takes a few seconds — the page updates itself when it's done, and the file is kept on the return so you can Download it later or Delete it and upload a corrected version.
Check the nine boxes
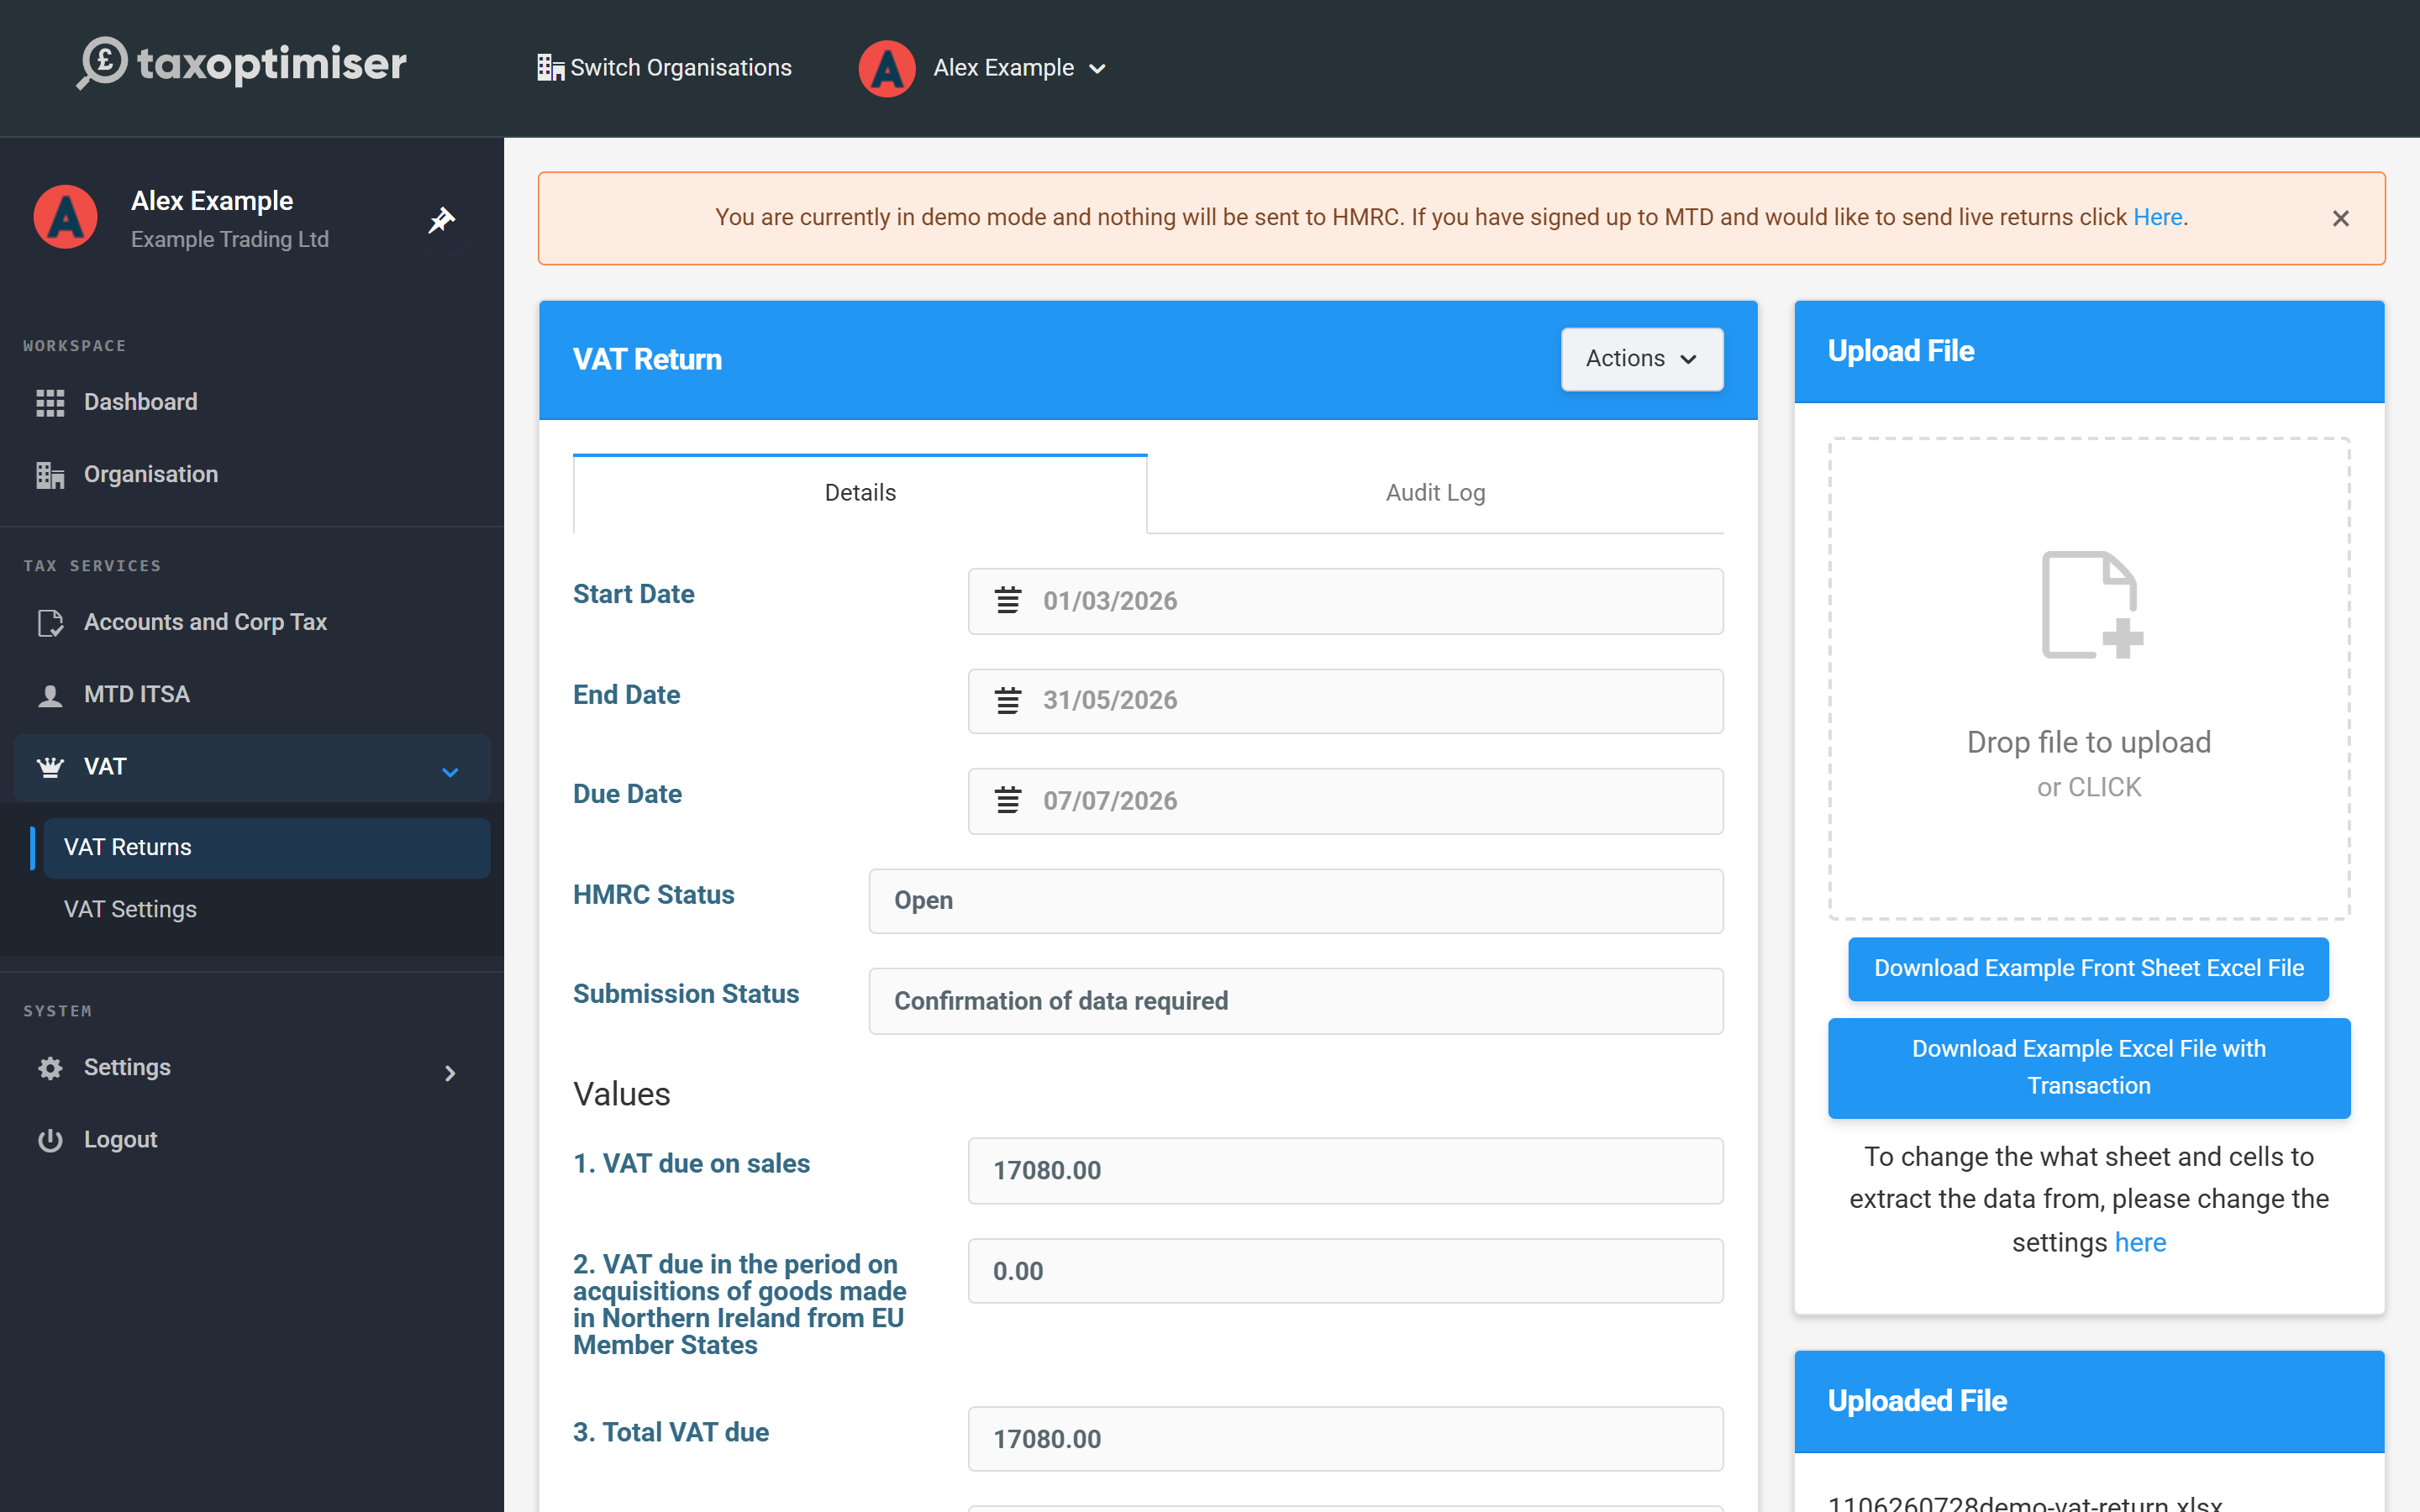
The boxes now show what was read from your spreadsheet — check them against your records before sending. In our example company the quarter's standard-rated sales were £85,400, so Box 1 shows £17,080.00 of output VAT, Box 4 reclaims £4,830.00 of input VAT, and Box 5 lands on £17,080 − £4,830 = £12,250.00 net VAT due. If a box is wrong, fix the cell in your spreadsheet and upload again — don't adjust the mapping to a different cell unless the layout itself changed.
Common upload problems
- "The Sheet … cannot be found" — the sheet name in VAT Settings doesn't match a tab in your file. Remember it's the tab name, not the filename.
- A box reads zero unexpectedly — the mapped cell is empty or holds text rather than a number in your file.
- Nil return? — you still have to submit. Use Actions → Reset all values to zero on the return instead of uploading a file of zeros.